Collect all tools and materials prior to starting installation to prevent mistakes and for a smoother workflow. Keeping everything within arms length with no disruptions minimizes errors and avoids unnecessary corrections.
An adjustable or pipe wrench (preferably two, one to hold the pipe and one to turn the valve), Teflon tape, a towel or bucket to catch water, a pipe cutter (if there is pipework to cut), and a rag for cleaning the debris. Penetrating oil such as WD-40 is useful on old plumbing systems to loosen connections.
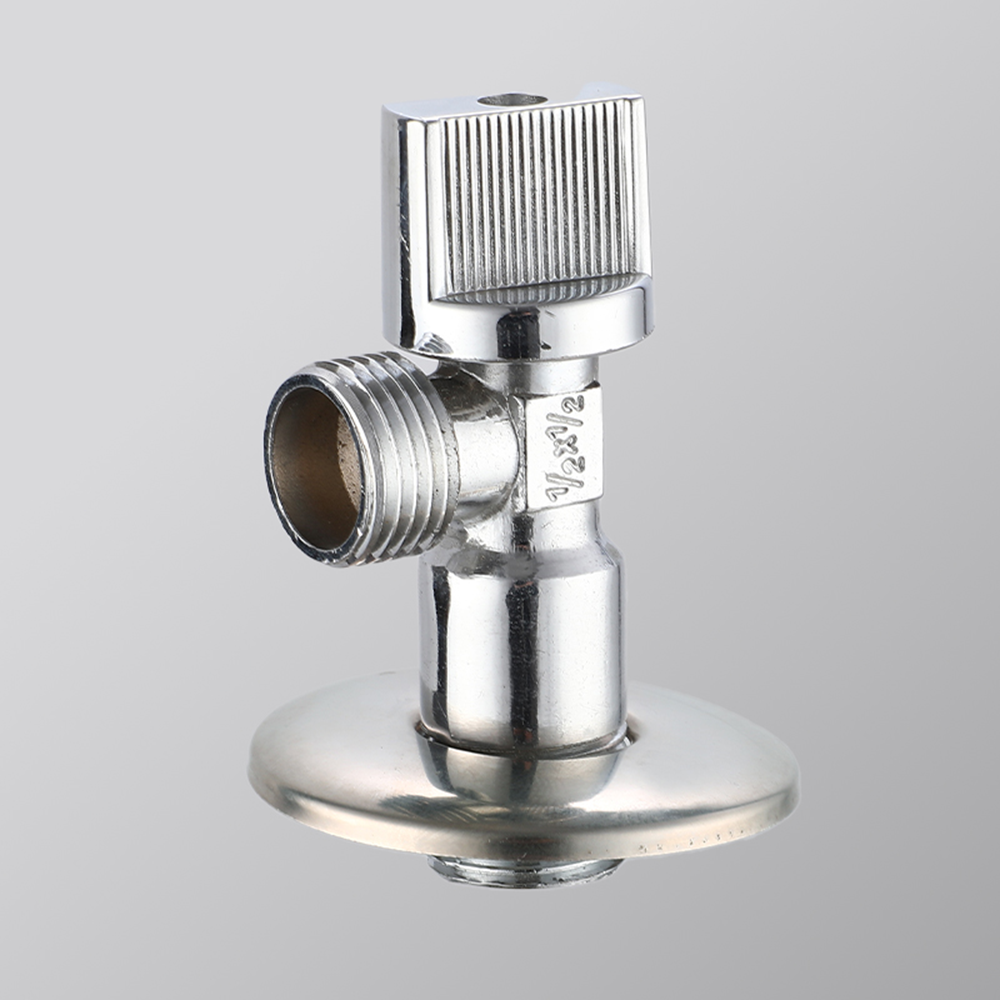
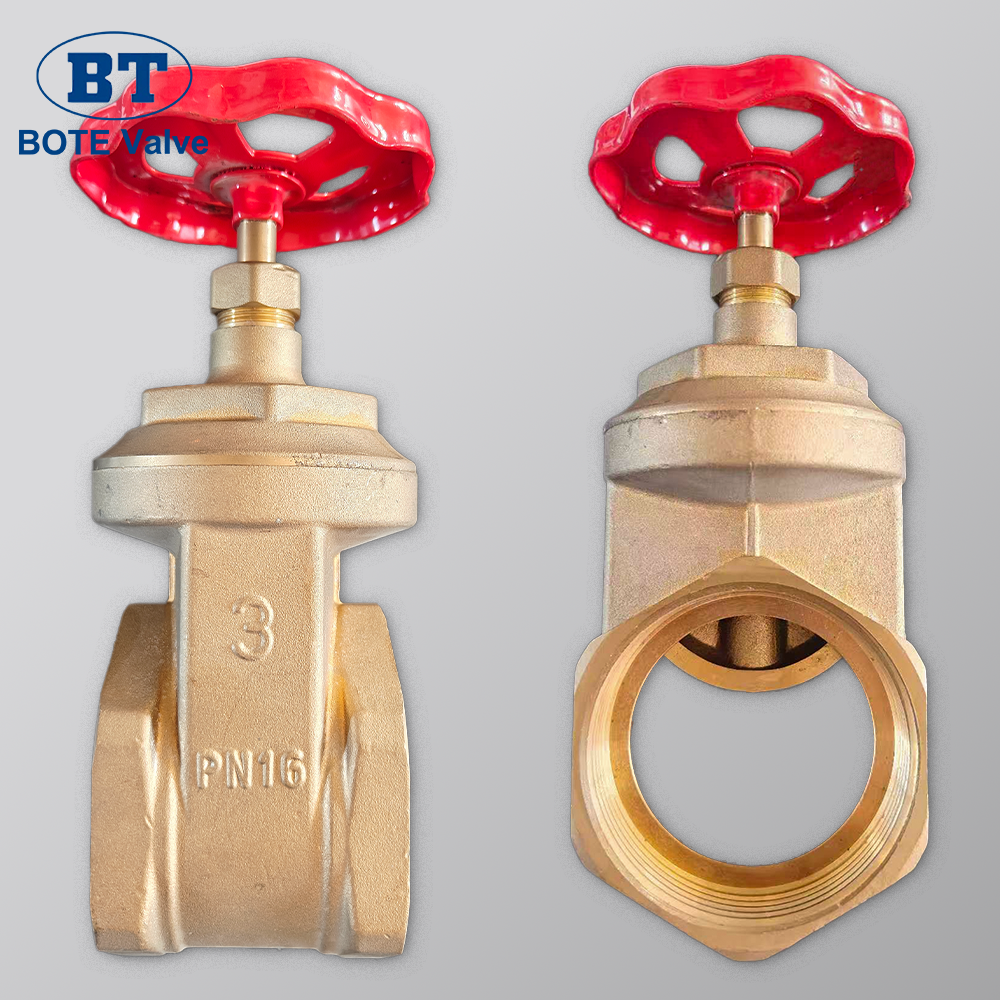
Angle valve materials must be sized appropriately to the pipe, some common sizes found are 1/2 inch for supply lines and 3/8 inch or 1/2 inch for fixture connections. Replacement supply lines are needed for the old ones if they are worn. A new compression nut and ferrule will be needed if using a compression valve. Choose angle valves constructed with high-quality brass or stainless steel as they are more resilient to corrosion and last longer than plastic.
No one gets to plumbing unless they are prepared to handle some hazardous odd jobs, so safety first. To prevent flooding, close the main hs water to the house line water supply before replacing or adding the old valve.
Identify the primary water meter or the entry point for the water line to the house. Valve check the main ‘shut off’ valve until it turns. Fitting a faucet with the hose would work excellently. If water is still running, check the main valve. If water meter access is physically uncontrollable to some users or is mistaken for a drain, a bi hose and coupling adapter–to drain off the water–may come in handy.
Drain the supply line still attached to the valve. If water is still attached to the valve, place a bucket below and chase down the faucet swiftly. Close the valve later after it stops flowing.
In making any changes to parts of valves, it is imperative to use the correct maintenance styles to adapt the right practices needed to solve the issues in the system. if the components of the valves are not mended, it can get very expensive to get the parts mended because they are extreneously vital for the operations of the whole piece of equipment. In millions of pieces of equipment, valves and pipes are the most vital and expensive parts. They are expensive because they do the most work.
Attaching the pipes to any pieces of equipment is not easy. There is a use of a separating tool. Special types of separating tools are needed for pipes because if the wrong wrench is used, it can strip the nut. To avoid the pipes twisting, a person uses two tools. One tool is used to hold the pipe in place while the person uses the other tool to turn the nuts. Sometimes there is a case of valves not moving. In that case, a set of penetrating oil can be used to loosen up old grease or oil that holds the valves stuck to the equipment.
Certain pipes and tiles will have valves that are connected to the pipe in a full rotation. In that case, the person will have to use a pipe wrench, that is used for bigger valves. Another person will have to hold the pipe because it can break if two wrenches are used for the valves and the rotation loosens. After a while, the pipe wrench can be removed in order for a pipe cutter to come in and if needed, slice the pipe.
Valves that are to be attached to the pipe can be done using old tapes. Teflon tapes is the most common in the market. Other Teflon tapes that are used are for the the windscreens of vehicles.
Starting from the end of the male water pipe threads, the tape should be applied in a clockwise direction for 3 to 5 times to obtain a seal, with a worry of either tape scant to cover for possible leaks, or tape excessive enough to make the seal difficult to tighten. Sheathing the tape along the threads is important t in order to assist with holding the tape in place as the rest of the installation occurs.
First, magnet the pipe to the angle vale, and tighten with fingers in order to not cross thread the two, as this will damage the threads and create leaks. Use the pipe wrench for an additional 0.25-0.5 turns while the vale is in hand tight position. While turning the angle vale, the pipe with the male threads should be held motionless in order to not twist. The pipe and the angle vale should be held with medium intensity in order to not break the angle vale or pipe.
Place the compression nut and ferrule onto the water pipe (the ferrule should be positioned between the nut and valve). Make sure that the pipe's end is completely inserted into the valve's compression fitting—most valves have a marked line that shows the necessary insertion depth.
The compression nut should be tightened first by hand and then with a crescent wrench as the nut is turned another 1-2 extra turns. Use a separate wrench to secure the valve from rotating. Watertight seal will be formed as the nut is turned; the ferrule will compress on the pipe as the nut is turned.
Once you've put in the new angle valve, reconnect the supply line on the fixture and check the rest of the system for leaks.
Supply line should attach on the outlet angle valve. When tightening the connection, do hand-tightening first, using a wrench for 1/4 turn more while greatly avoiding over-tightening. Always use the supply line that is of correct length and is compatible with the fixture and valve.
To turn on the main water supply valve, turn the valve slowly counter-clockwise Until it's fully open. Then turn on the fixture's faucet. Do the valves and supply line valves receive any water? Yes? Well, close the valves and tighten the valve and pipe and check again. If the connections still leak after tightening, remove the valve, check the threads and ferrule, and add Teflon tape in case you took some away.
It is when the fixture is fully bled and the main water valve is still closed that the rest of the system If the system has leaks then the water supply is not turned on To check the valves.

YUHUAN BOTE VALVES CO., LTD. provides high-quality industrial valves for oil, gas, and water systems. Durable, corrosion-resistant designs ensure reliable performance. Trusted by global engineers. Request a quote today.
YUHUAN BOTE VALVES CO., LTD. TAISHAN INDUSTRIAL ESTATE, QINGGANG TOWN , YUHUAN COUNTY ,ZHEJIANG ,CHINA
Copyright © 2025 by YUHUAN BOTE VALVES CO., LTD. Privacy Policy

 Hot News